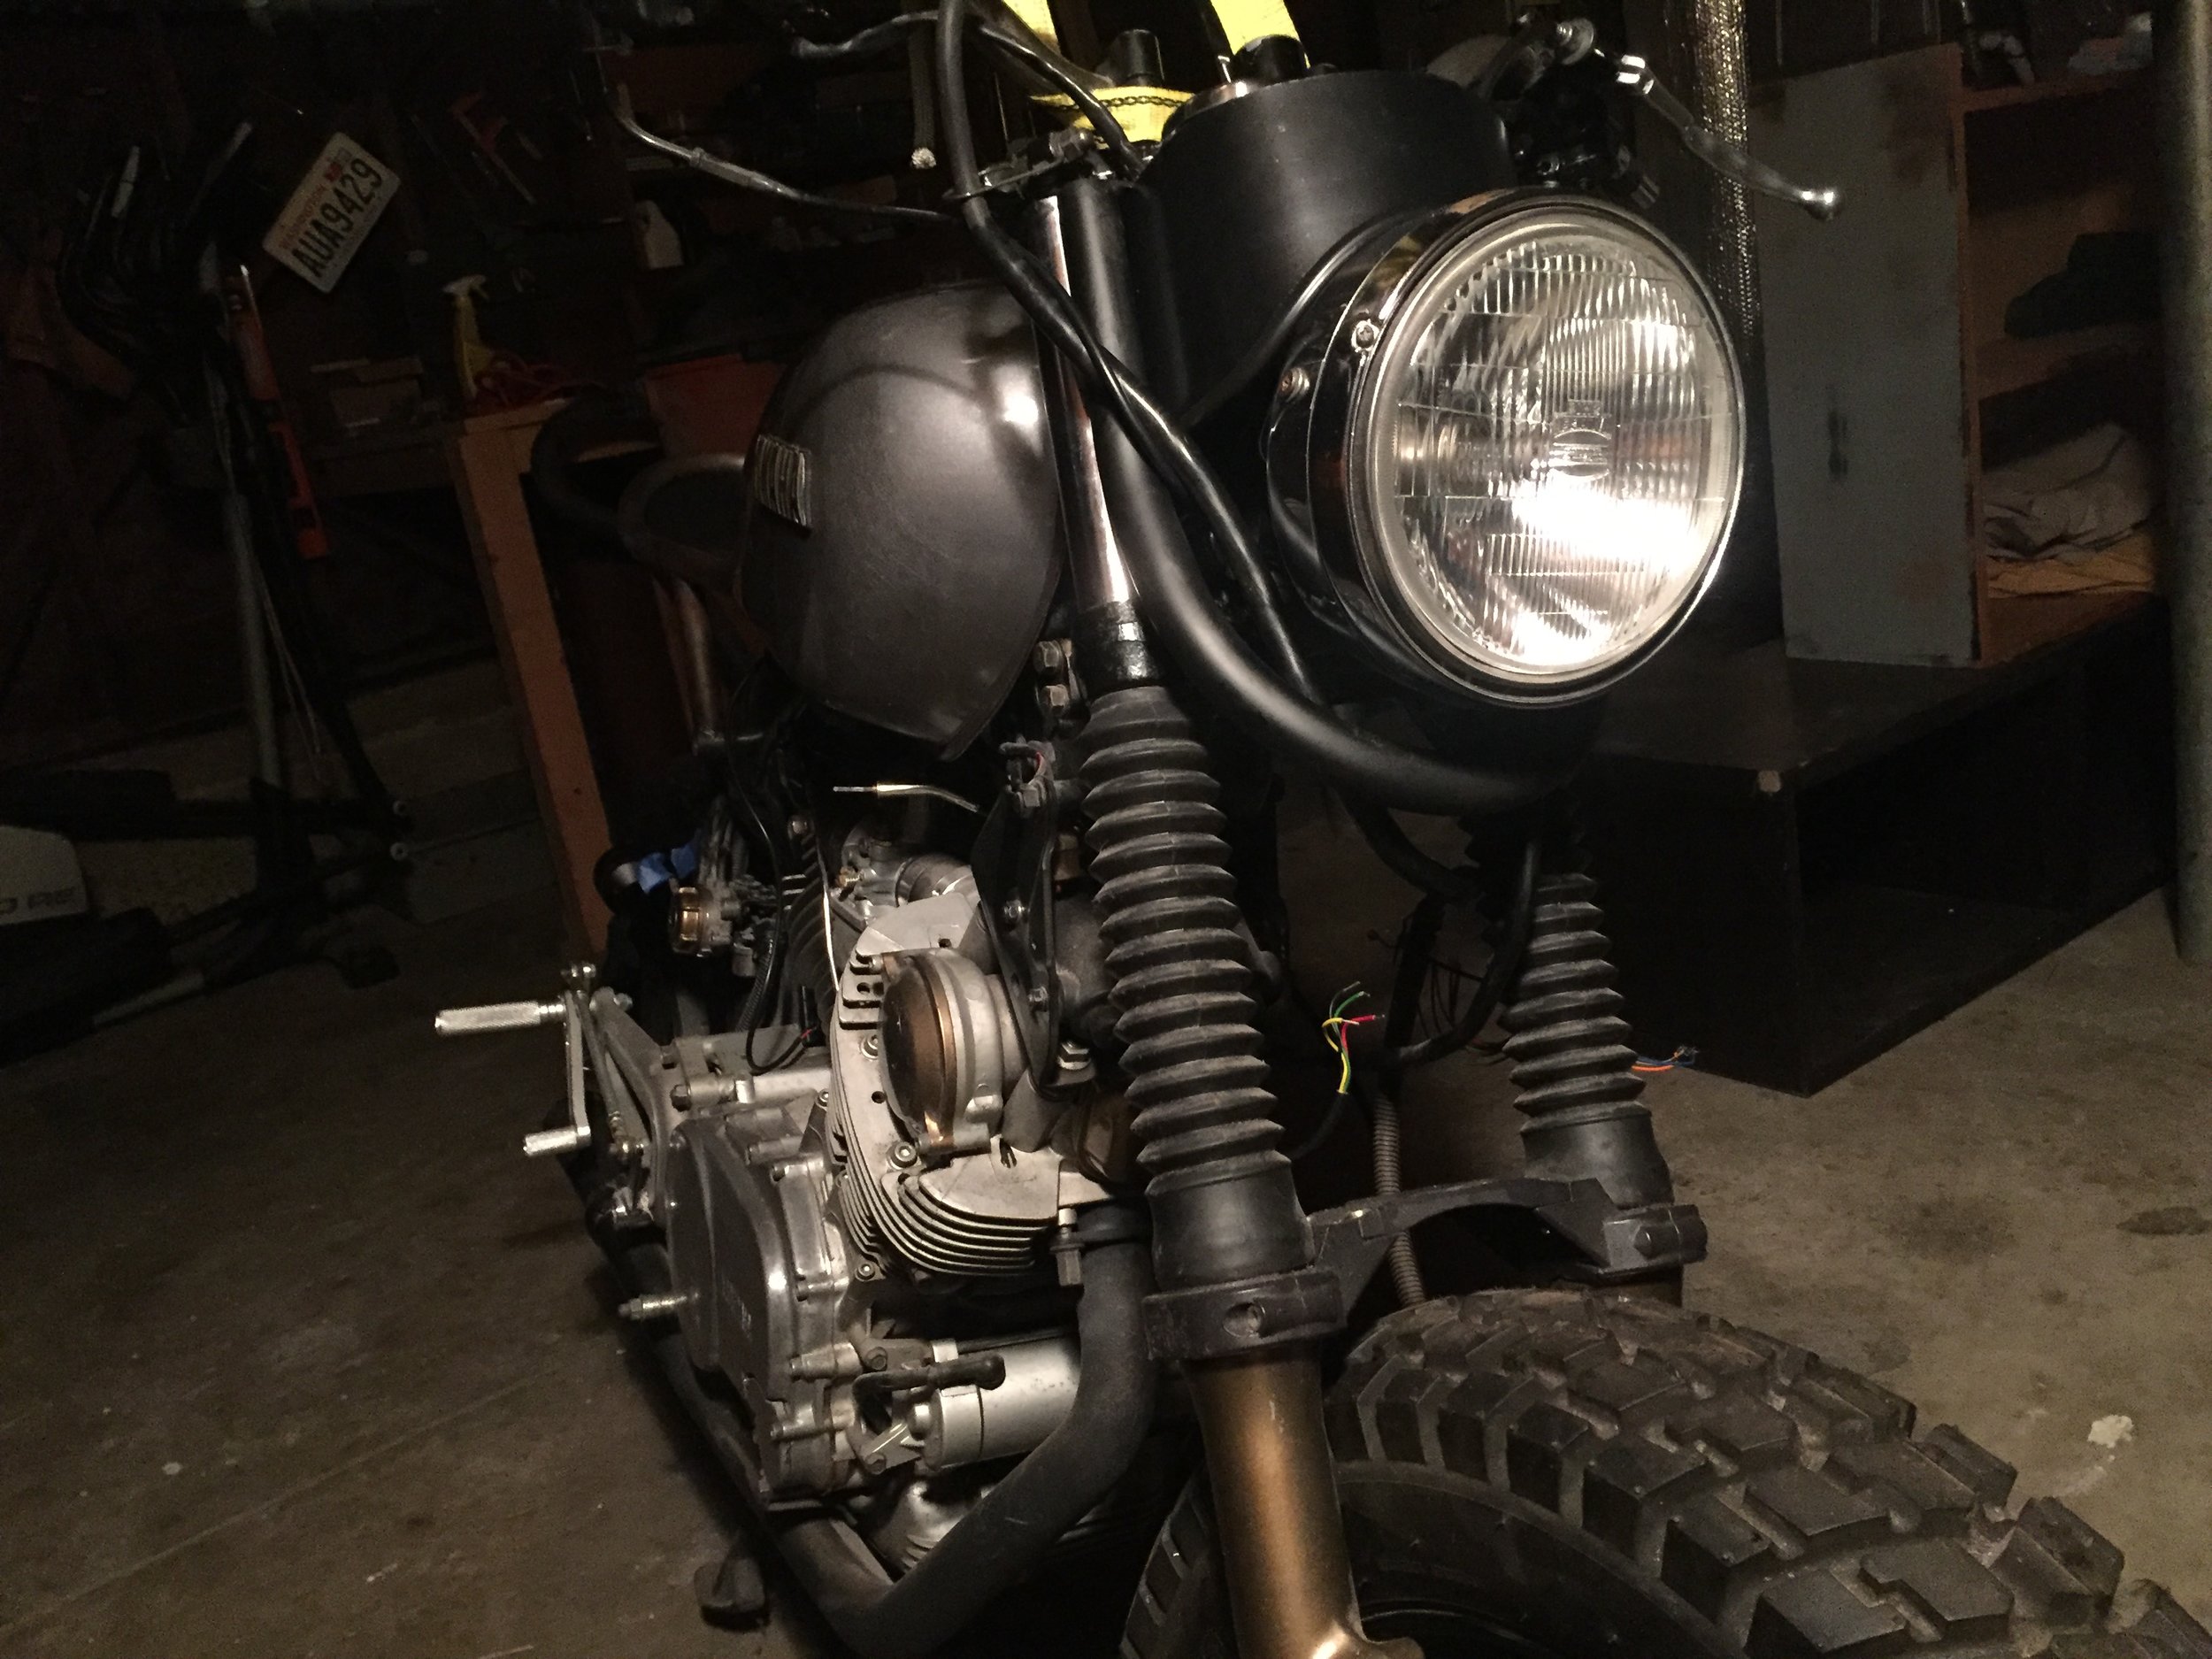
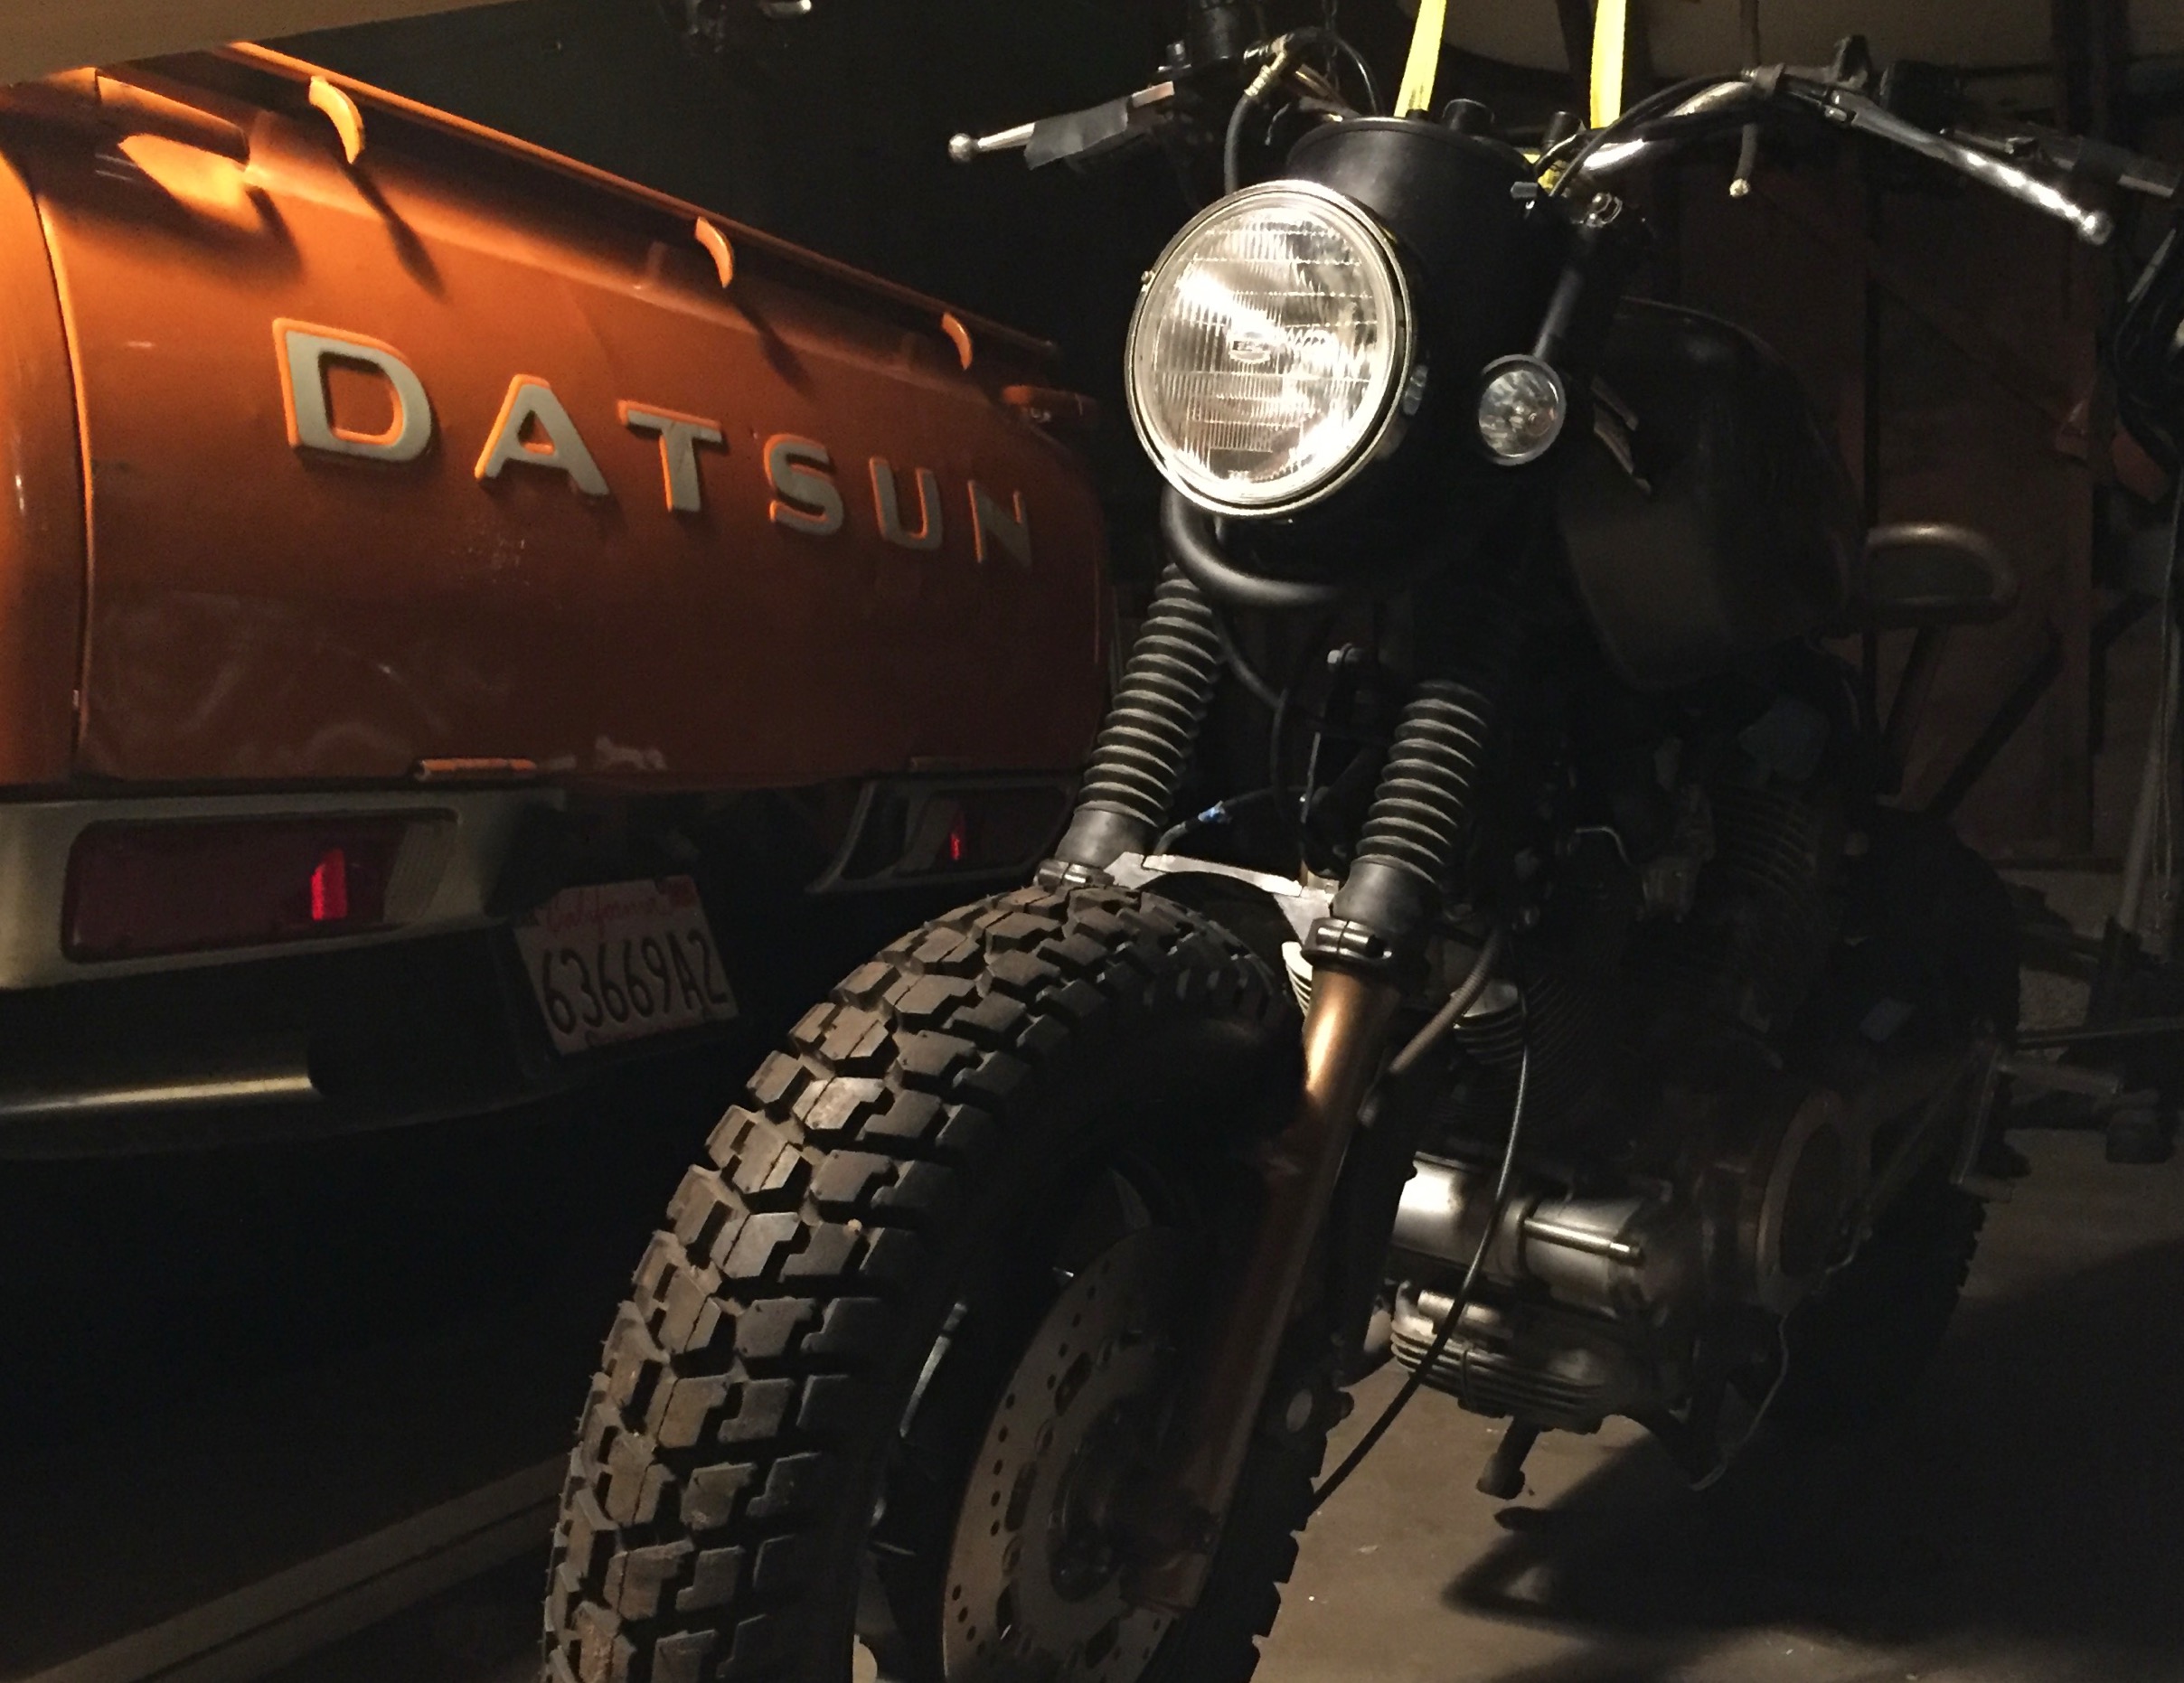
past time
the garage is my zen place. my automotive working past has become one of my favorite hobbies.
XV 750
xv scrambler concept
a quick photoshop render helped the vision take shape.
Bay Area to Fortuna
after a quick conversation with the "Ray" the seller from craigslist, my friend Luke lent his time and Subaru Loyal for the 6hr trip to the lost coast.
true friend
we parked at the beach the night before to camp and proceeded to get the car stuck in the sand all the way to the frame rails. dropping the pressure of the tires and digging by hand was the only way to escape the rising tide.
1982 Virago XV 750
back home
tear down + clean up
a quick teardown revealed a solid foundation to build on.
carb problems
when test riding I could feel sluggish response on the throttle. I used this to talk the seller down from $1500 - $900
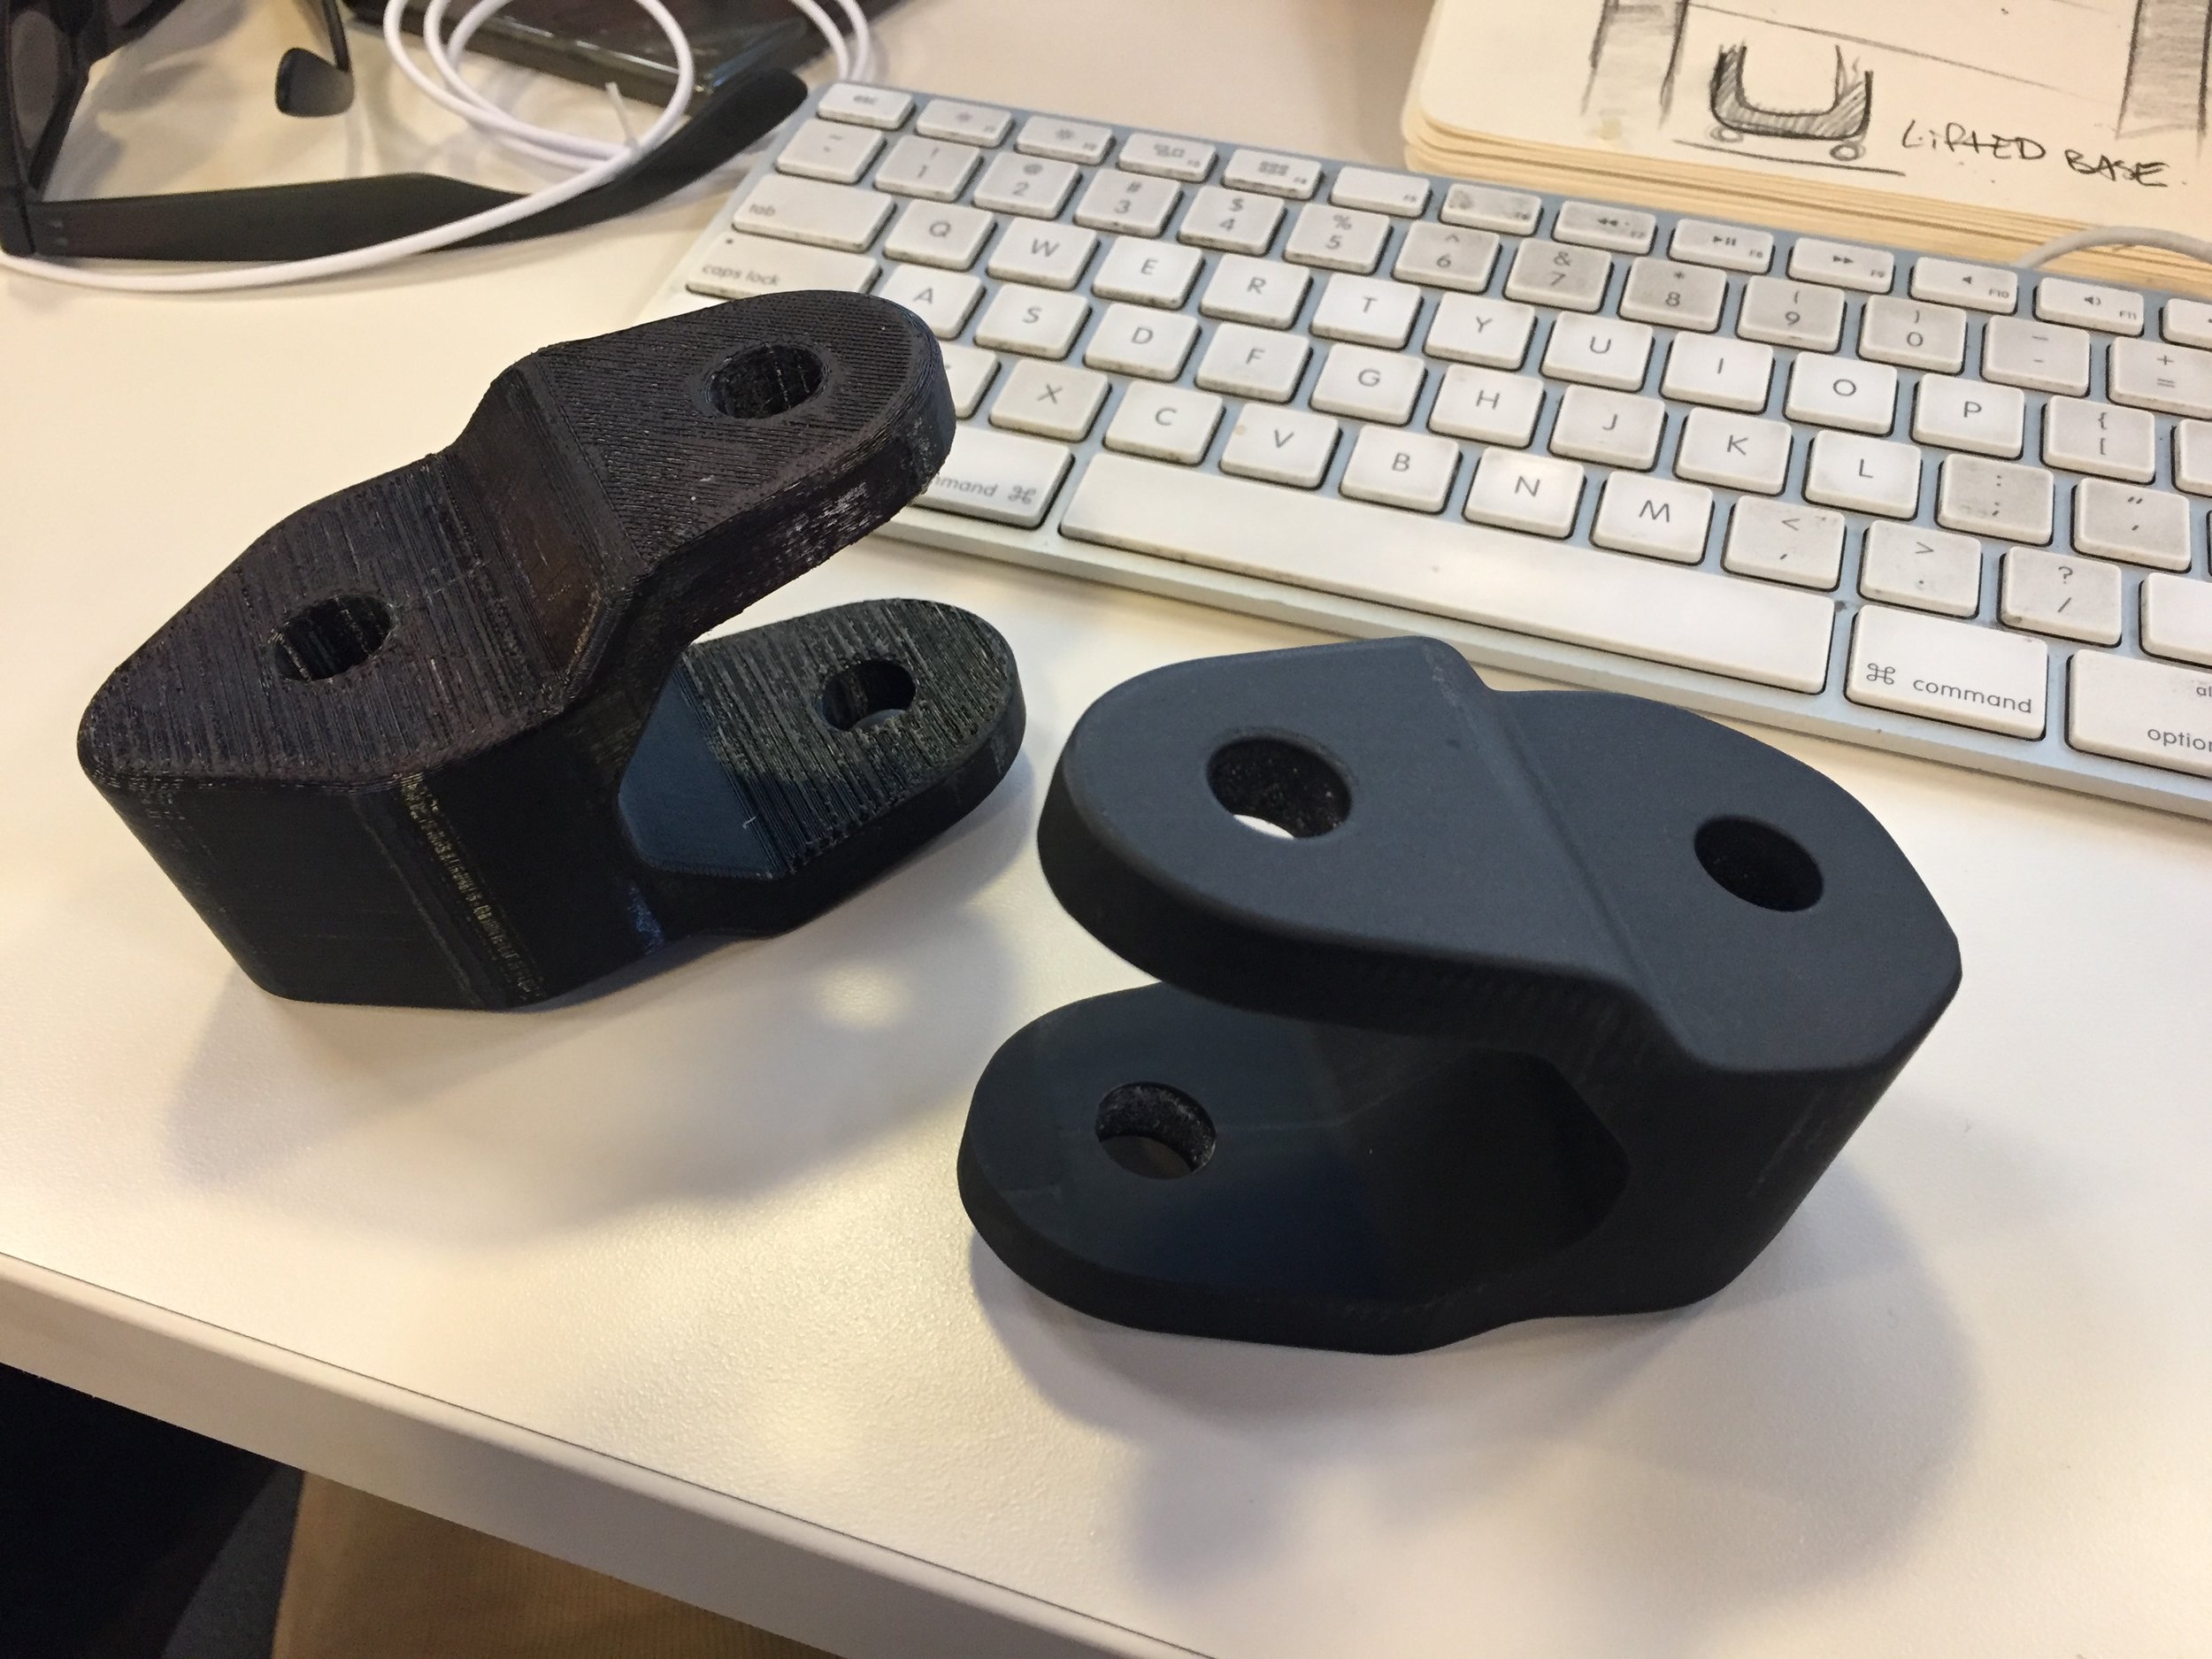
rear suspension lift block
to achieve more ground clearance I made a 2" rear lift block. 1: 3D print 2: CNC delrin 3: CNC stainless
seat hoop mockup
pvc sand bent frame + cardstock seat volume. I wanted the proportions and curves to speak to the tank, keeping a cohesive look.
3D scanner
getting access to a hand held 3D scanner allowed me to stay true to the plastic and paper seat mockup.
tangent angle gauge
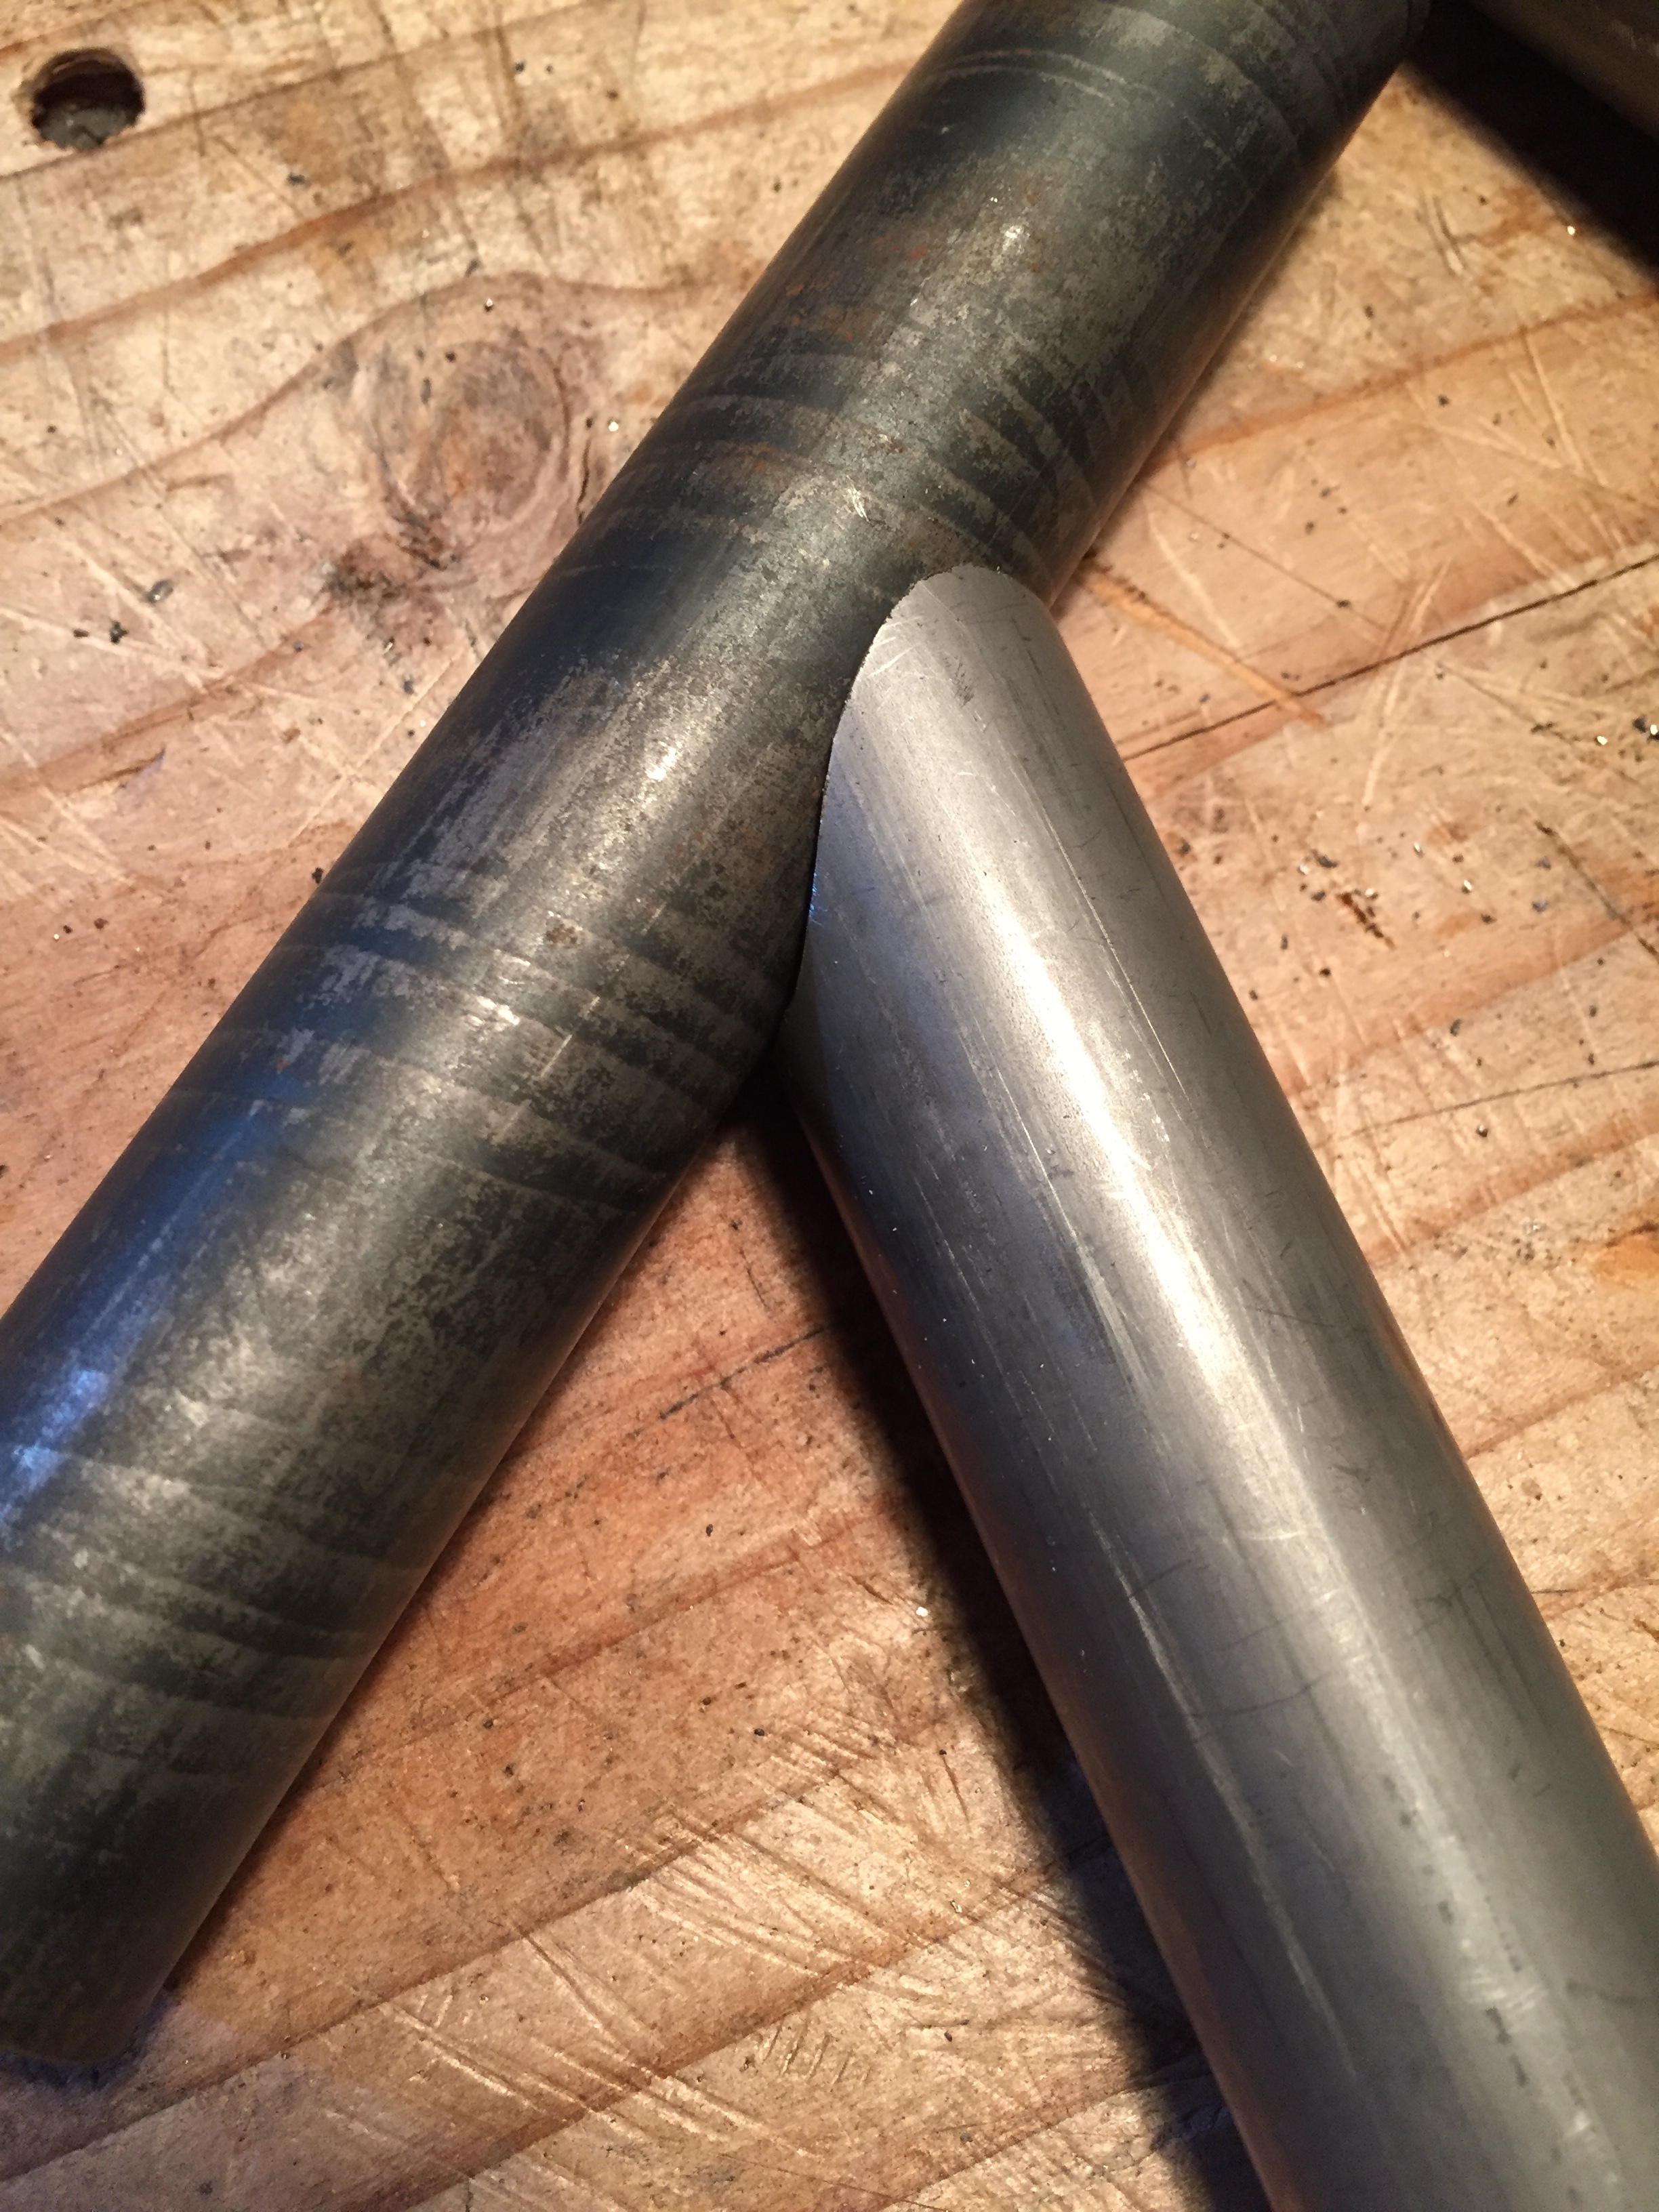
I laser cut and 3D printed this angle gauge to guide and layout cutlines at the perfect angle.
zero tolerance
Mark Robles the master fabricator I worked with years ago at "SCARGO" porsche race shop, always stressed the importance of the perfect fit-up before welding. He knows his stuff.
notch cutter
by far one of my favorite tools.The accuracy and final fit turn out amazing as long as you've done all your geomoety homework .
blend clean
originally i wanted to make the seat hoop from one piece of tube that was CNC mandrel bent. Unfortunately no one in the bay area was willing to take the project on so it was on me to make it happen.
seat cushion
I glued and layered rebond foam to the metal seat pan then cut it down with a Japanese saw. An angle grinder with a aggressive wheel was then used to shape the foam like surf board.
first test
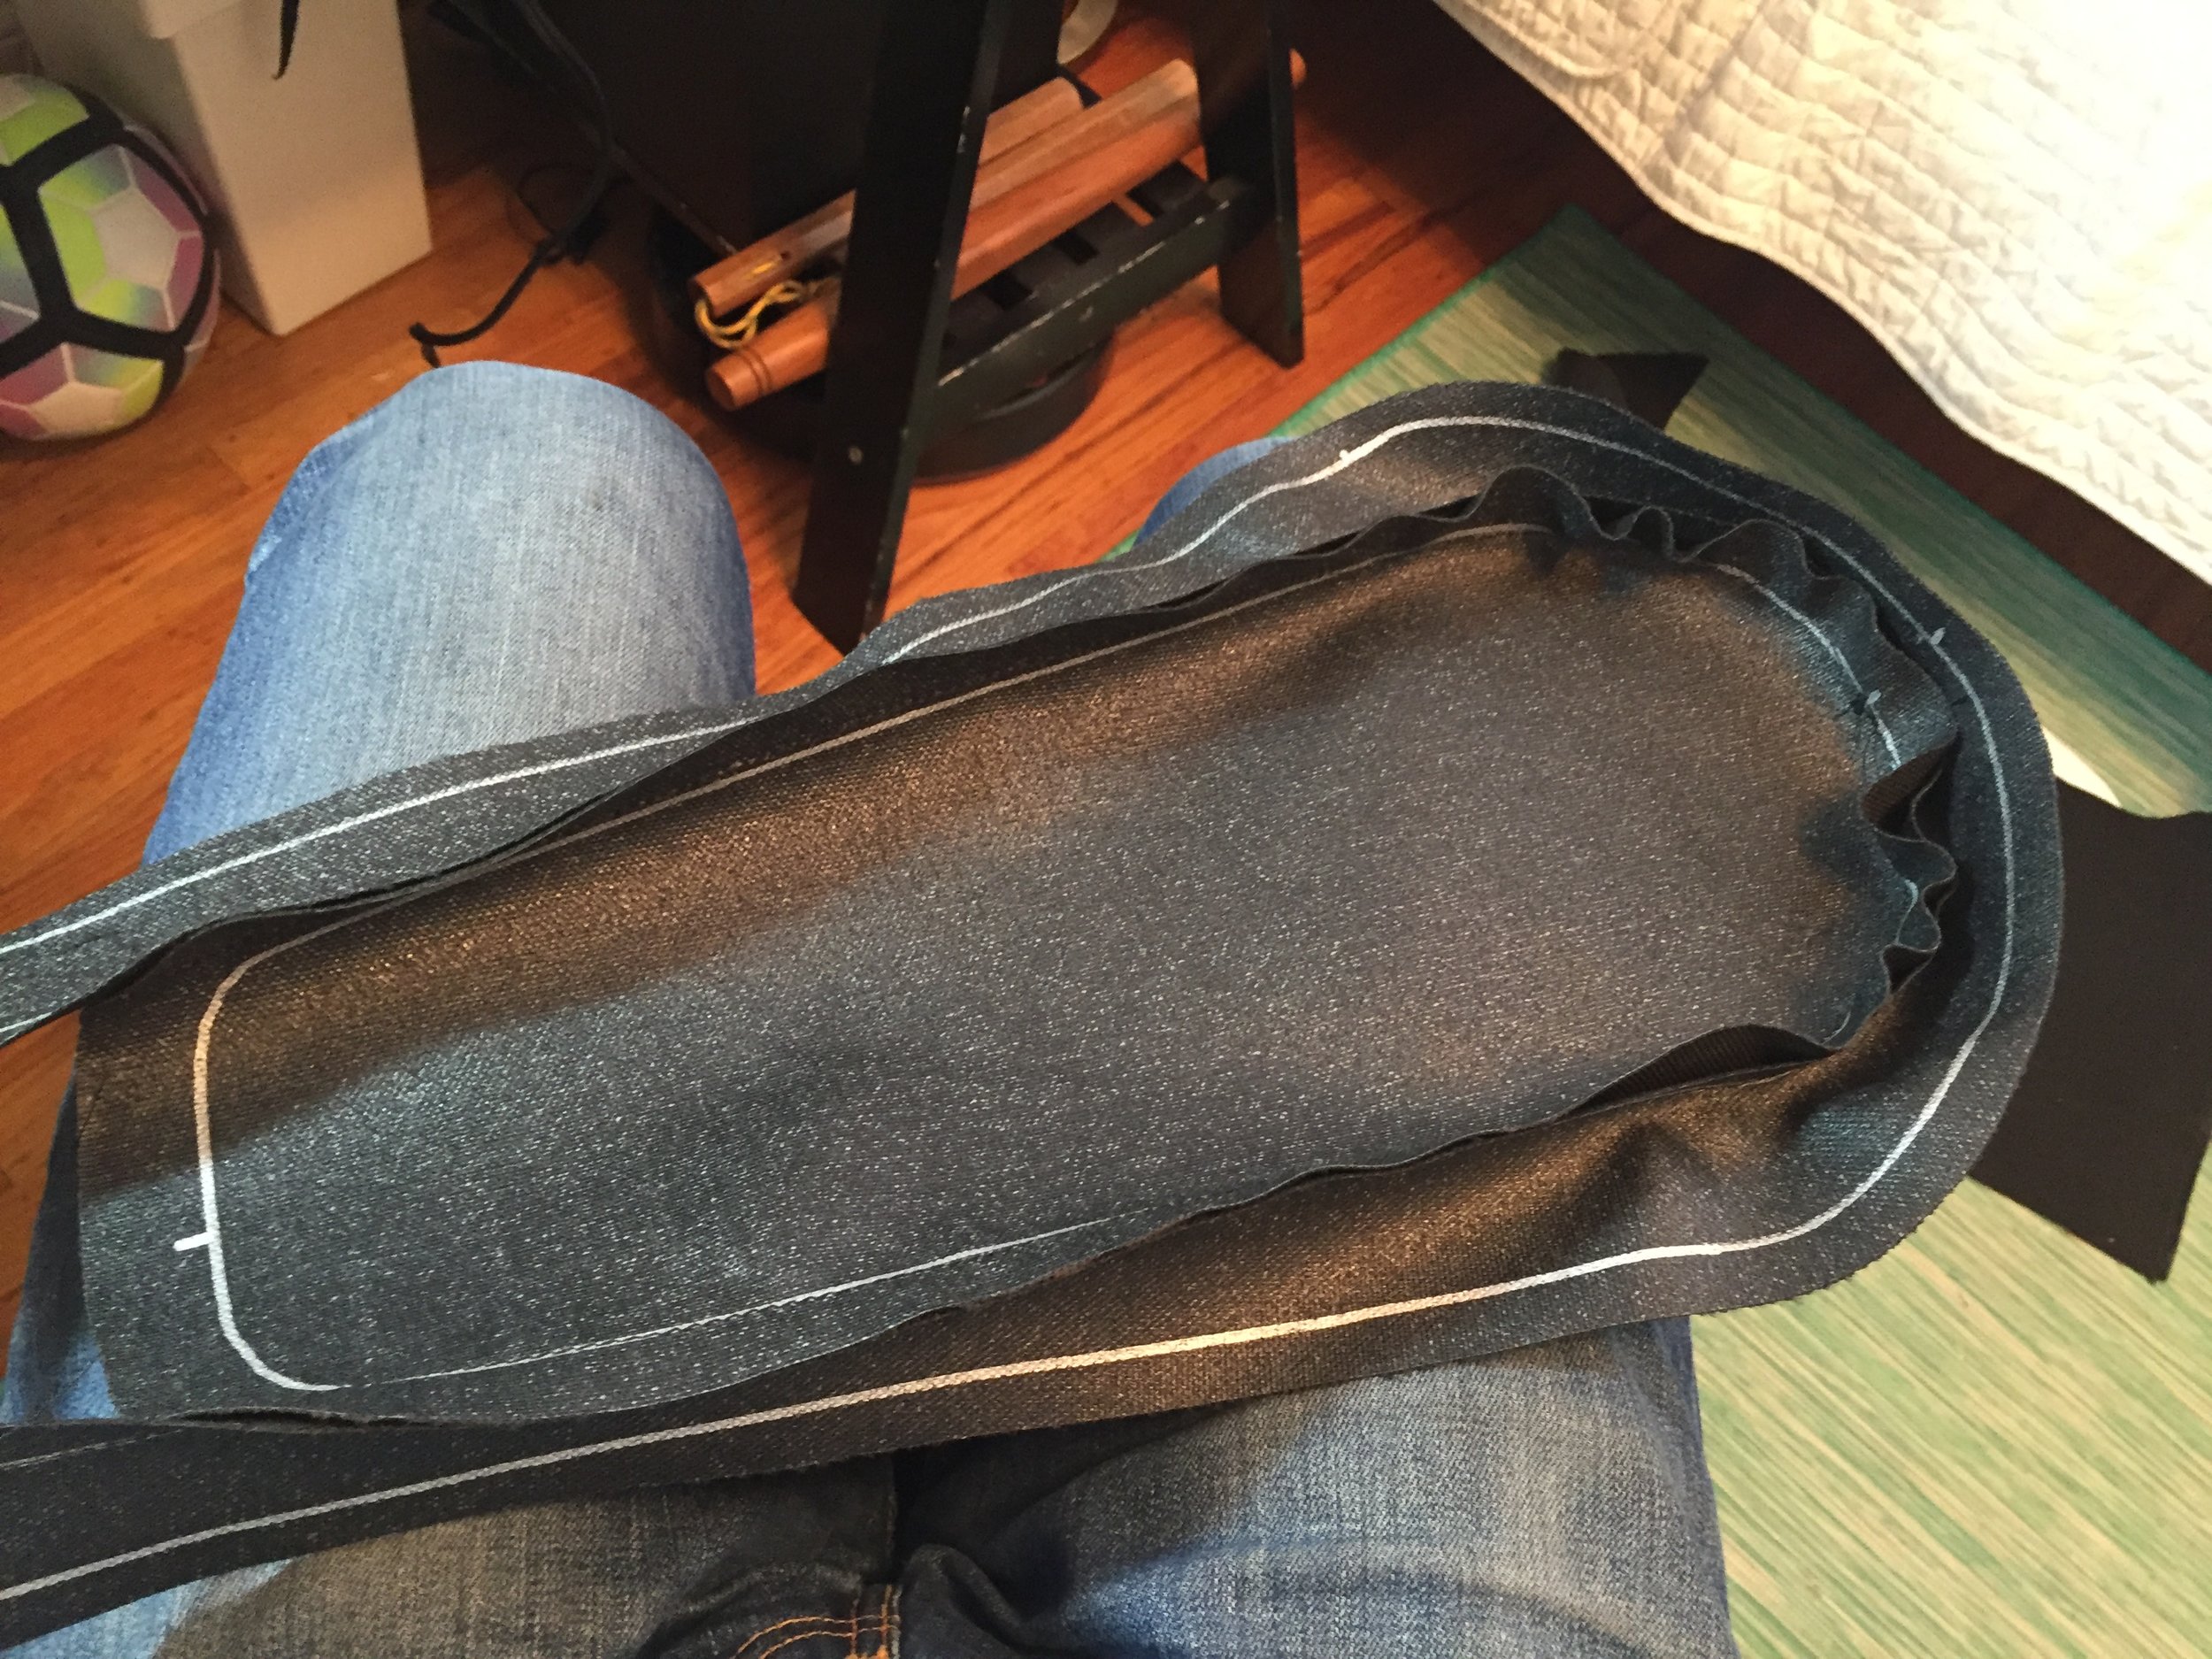
using a tape up, I made some rough patterns just to see how the fit was. I chose coated cordura for the seat upper to keep the water resistance and ruggedness yet modernize the look beyond leather.
first fit
although i need to make some adjustments to the pattern, and plan to ad more stitching details, the overall fit wasn't too bad. Round 2 coming up.
gauge cluster shield
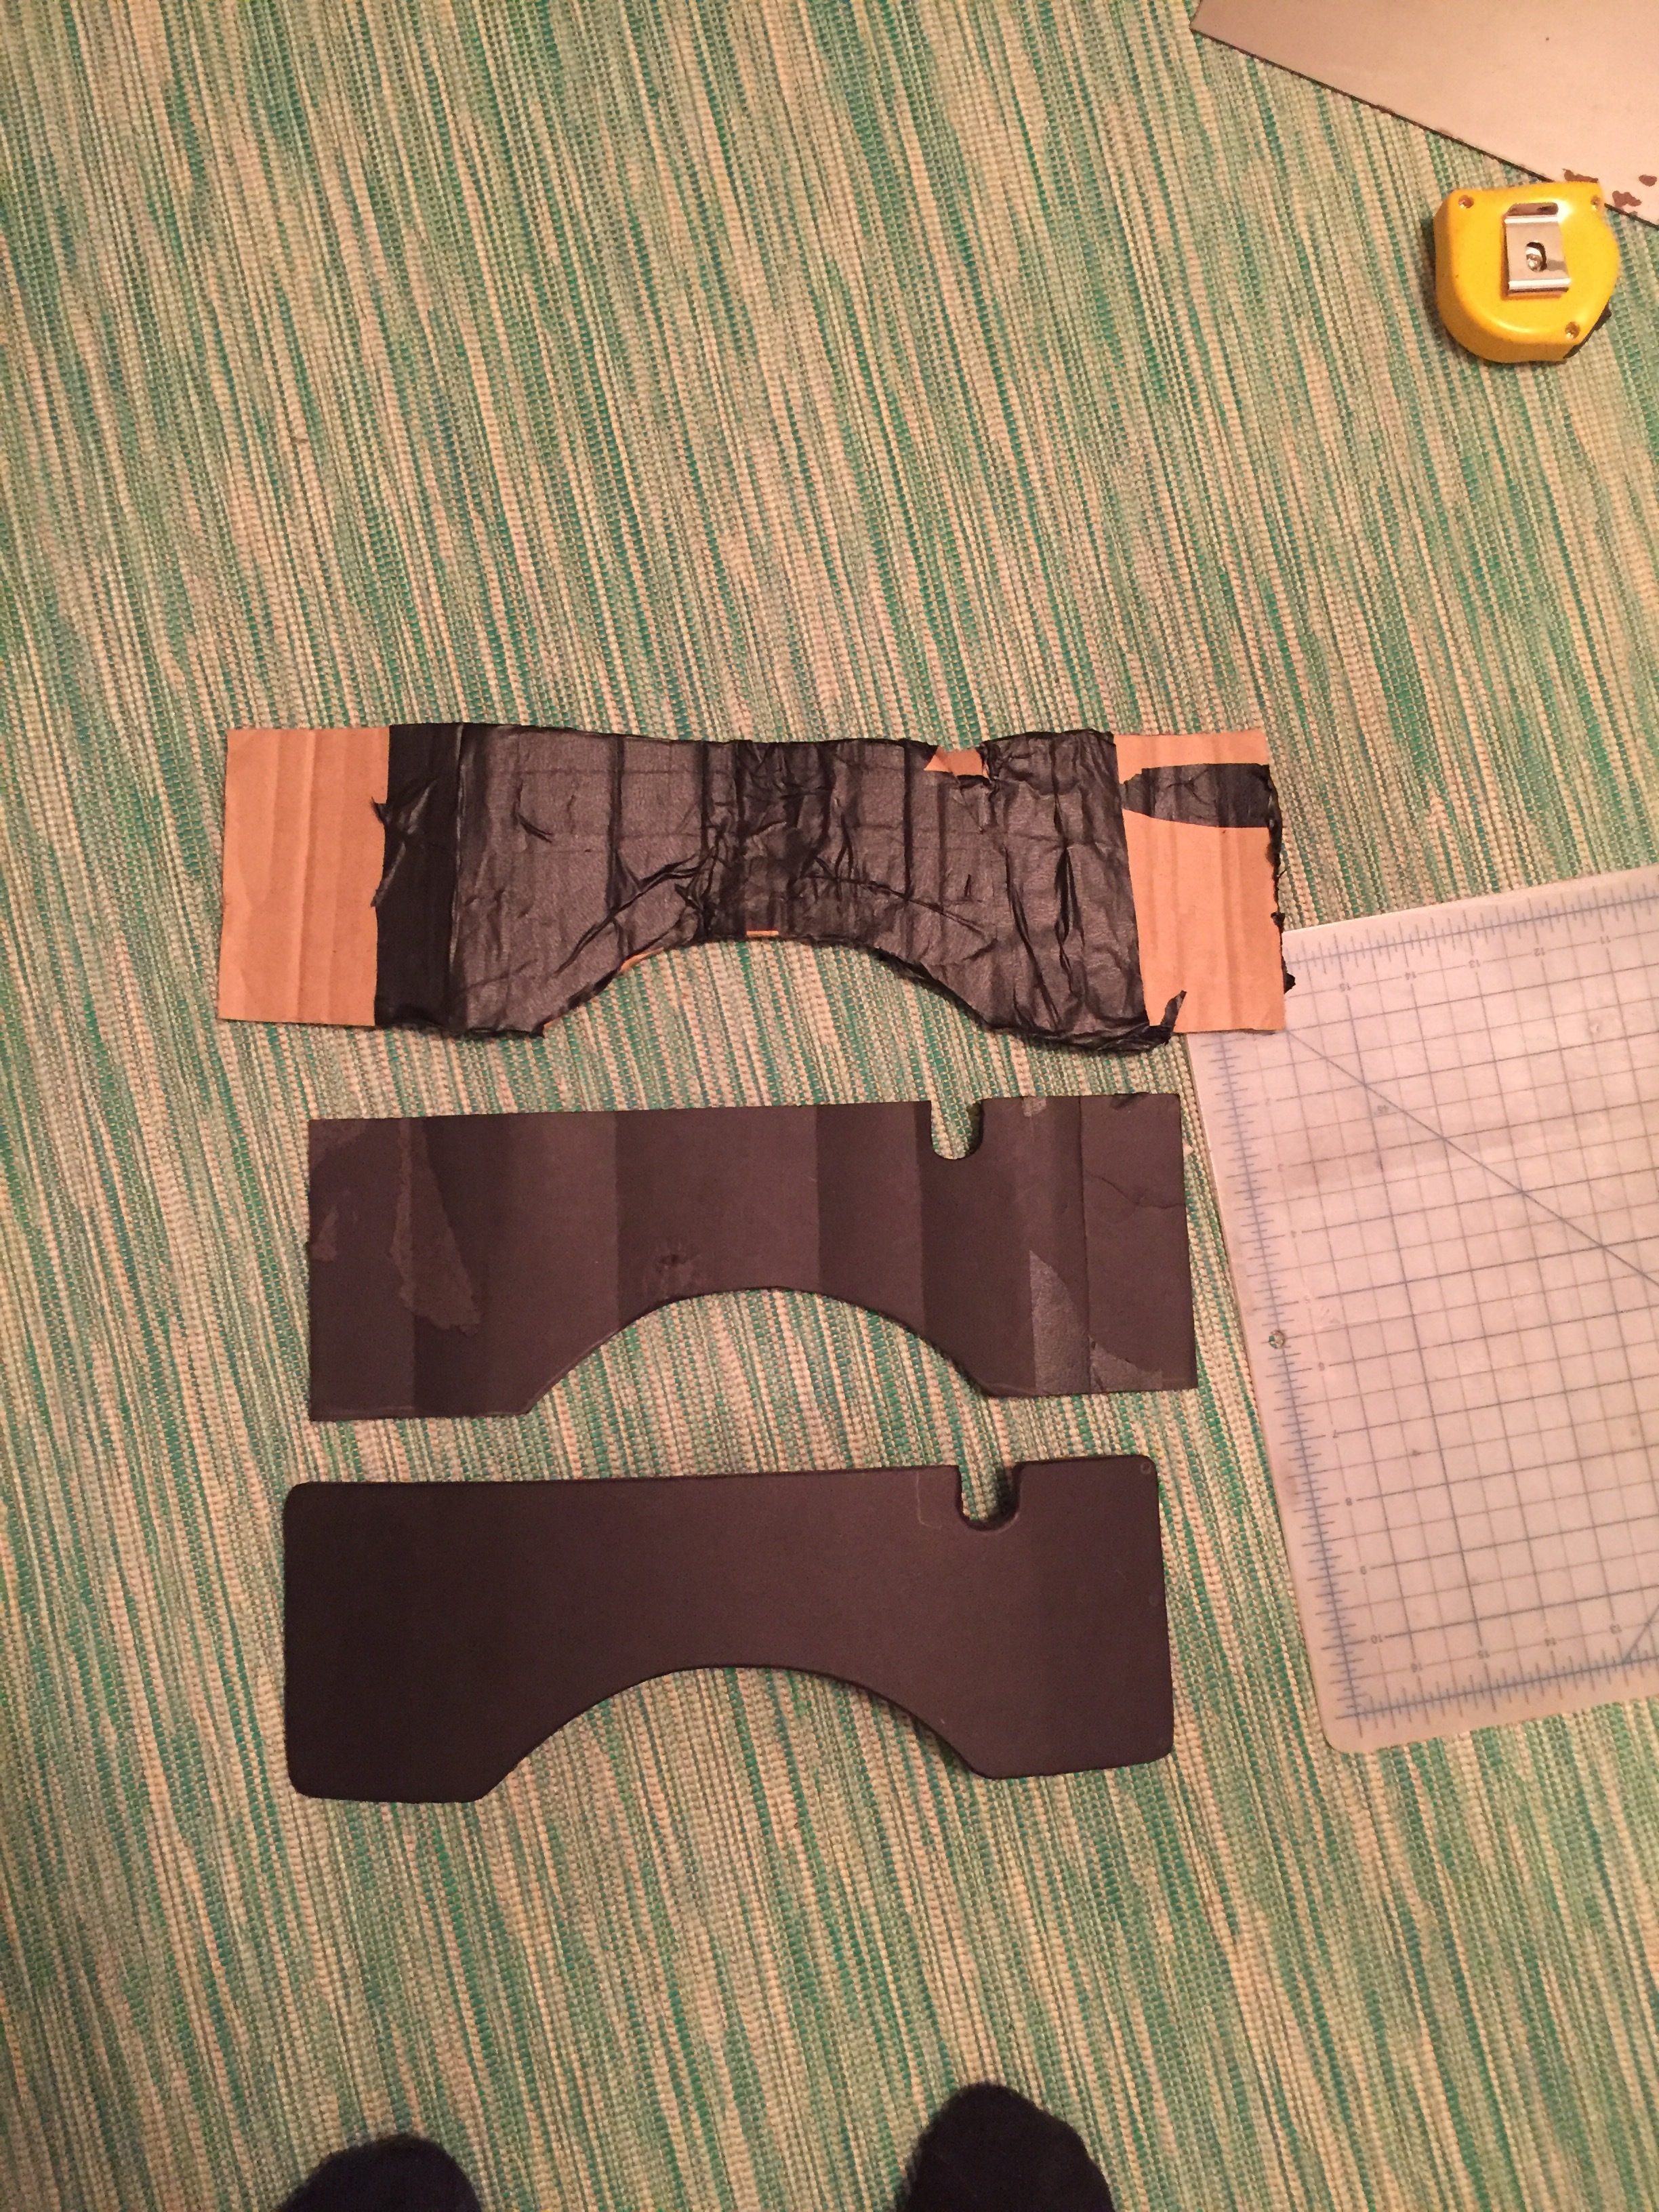
I wanted to combine the headlight mount, tach, and speedo into one unit. the bolt on metal shield helped clean up the front end while also adding a bit of protection to these components.
to be continued...


